The Android System has been widely used on phone terminal after Google purchased it. This system started from Cupcake to now Nougat has experienced for many years that benefited by its’ open source characteristic. Except smart phone use Android System, table PC/ smart TV/ TV box/ game consoles/ smart watch and vehicle-mounted system, etc are also use Android System. Now, music fans can add music to different Android Devices to develop new music playing space. This guide will introduce you 5 easy methods to add music to your Android Device like smart phone with Android System. You can reference the methods in this article to add music to other Android devices. In addition, this guide will introduce the solutions while music cannot be played in Android Devices too. You can use this method to improve music quality to achieve the best effect.
Part One. 5 Easy Methods to Add Music to Your Android Device
Method 1. Transfer music from PC to Android phone with a USB cable
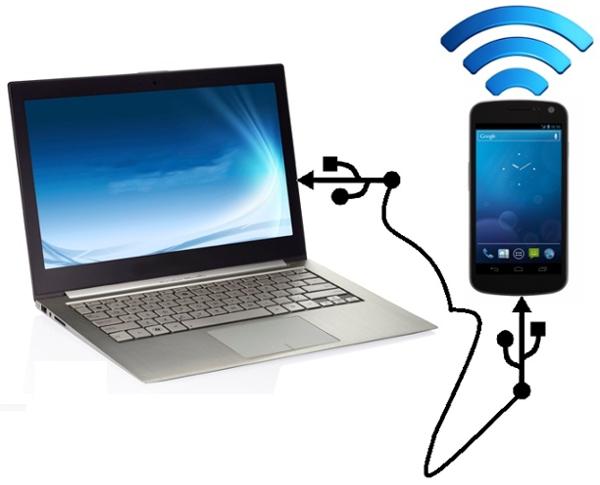
Step 1. You need four kings of things at least. A computer, music files which stored in PC, a USB cable and an android phone.
Step 2. Connect android phone and computer via USB cable. When you do it, you will see a USB icon in the menu bar on your android phone. Please drag the menu bar down, then you will see the message with “USB Connected” title. Tap this message, the dialog box will pop up asking “Mount” or “Don’t Mount.” Click “Mount” which can transfer music from your computer to your android phone’s SD card.
Step 3. Open your USB drive on your computer. A dialog box may pop up asking what you want to do with the new hardware, in which case you should click “Open Folder to View Files”. If the dialog box does not show up, you can go to the “My Computer” and double click on “Removable Disk”. These two ways both can help you open the SD card storing room on your computer. Then find the folder named “Music” that is the folder that you will transfer your music. If no “Music”, just create your own. Now copy your music from Computer to “Music” folder.
Step 4. After above work, click on “Safely Remove Hardware” icon on the bottom right side of your computer screen. Click on “USB Mass Storage” and click the “Stop” button. Now return to your android phone, drag the menu bar down once again and you will see a dialog that says “Turn off USB storage”. Click it and then you will see a prompt asking if you want to turn off the USB storage. Indicate that you do. It will now be safe for you to unhook the USB cord without damaging your computer, phone or files.
Step 5. Transferring music from PC to android phone is successful now. You can listen to music via music application on your android phone.
See operation video and guide:
Method 2. Transfer music from Bluetooth-compatible PC with Windows 7 System to Android phone via Bluetooth
Step 1. You need three kings of things at least. A Bluetooth-compatible PC with Windows 7 System, music files and an android phone.
Step 2. Install the Bluetooth driver on your computer, and enable the Bluetooth function. Enable then Bluetooth on your android phone at the same time.
Step 3. Click the “Start” menu at the lower left coin on your computer desktop. Input “Bluetooth” as a keyword in the dialog box. Find the “Add Bluetooth Device” and click it. Now your android phone icon Whose Bluetooth has enabled will appear on the computer screen. Click the android phone icon, then appear “Add Device” interface. This interface will appear “Pairing code”. The same “Pairing code” will appear on your android phone’s scream. Choose “Yes” on your computer and choose “match” on your android phone. Come back to computer and click “Next Step”, then android phone and computer began to match. It maybe cost few minutes. After connecting successfully, the “Add Device” page will appear “ This device has succeeded in adding to computer”.
Step 4. Find “Files Transfer” then click “Send files to your android phone”, the interface will appear “Bluetooth FTP wizard”. Click “Browse the file” to find the music that you wanna transfer to your android phone. Then click “Open”. Click “Next page” after choosing the music files, then choose Music folder as your saving location. Click “Send” in the end on your computer. Now come back to your android phone, click “Accept” on the “Files transfer” page. Transferring work is over.
Read more:
Method 3. Transfer music from PC to Android Phone via FTP
Step 1. You just need three things. A computer, music files and an android phone.
Step 2. Make your computer and android phone connect the same WIFI.
Step 3. Open “Files management” > “Remote management” on your android phone, then click “Open the service”. After doing it, you will get a FTP address. Come back your computer and open the address bar ( you can double click “Computer” then the PC interface will appear a page. On the top of page is address bar). Input the FTP address to address bar then click “Enter” on your keyboard. Your android phone catalog will appear on the computer.
Step 4. Copy your music files then paste to the “Music” folder. Transferring work is finished.
Read more:
Method 4. Transfer music from PC to Android Phone via Cloud storage services
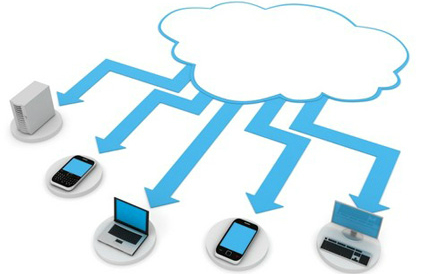
Step 1. You need three things. A computer, music files, an android phone and the Could (including Dropbox, OneDrive, Google Drive, etc.)
Step 2. Register on any online Could on your computer. Download the Could app on your android phone at the same time.
Step 3. Put your music files from local computer to the Cloud.
Step 4. Open the Cloud app on your android phone, click to download music files. Transferring work is over.
Use now:
Method 5. Transfer music from Mac to Android Phone via Android File Transfer
(Tips: Apple devices without Android System that makes some limits for connecting Android devices to Apple devices. You may meet trouble in using USB cable to connect Android smart phone and Mac. Here tell you the easy to make it possible.)
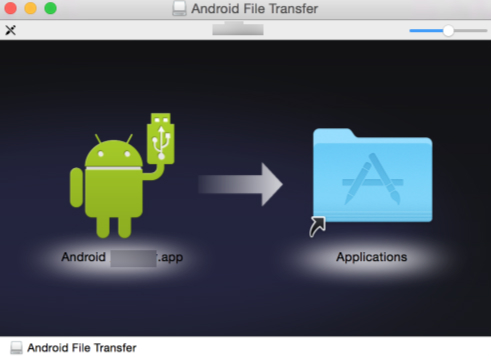
Step 1. You need four things. Mac, music files, USB cable and your android phone.
Step 2. Download and install a software named “Android File Transfer” which is developed by Google on your Mac.
Step 3. Connect your android phone and Mac via USB cable.
Step 4. Now your data from android phone will appear on the Mac. You just do the copy and paste work to transfer music to your android phone.
Part Two. Succeed in playingincompatible music on your Android Devices
Successfully adding music to Android Devices via above easy ways is just the half of battle. True success is to make music dancing on Android devices. However, sometimes people cannot play music on Android devices even if the music can be played well in PC media players. Is it because Android equipment ate the audio? Audio files become the mime that make music fans unhappy. Why will appear this kind of circumstance? Maybe just because of the incompatible audio format. The same as video, audio files also have different coding and formats. Wrong audio file formats will get trouble in playing.
For presenting music completely on Android Devices and improve audio quality, you should get a third part software to assist you handle your audio files before adding to Android Devices. The best is that this Music to Android Processor is easy to use. People can spend less time on treating music. No one is willing to waste of time and energy to converting node. Exactly right, there is a software can hear the voice from users. That is Pavtube Video Converter Ultimate, the best Music to Android Processor.
The best Music to Android Processor – Pavtube Video Converter Ultimate
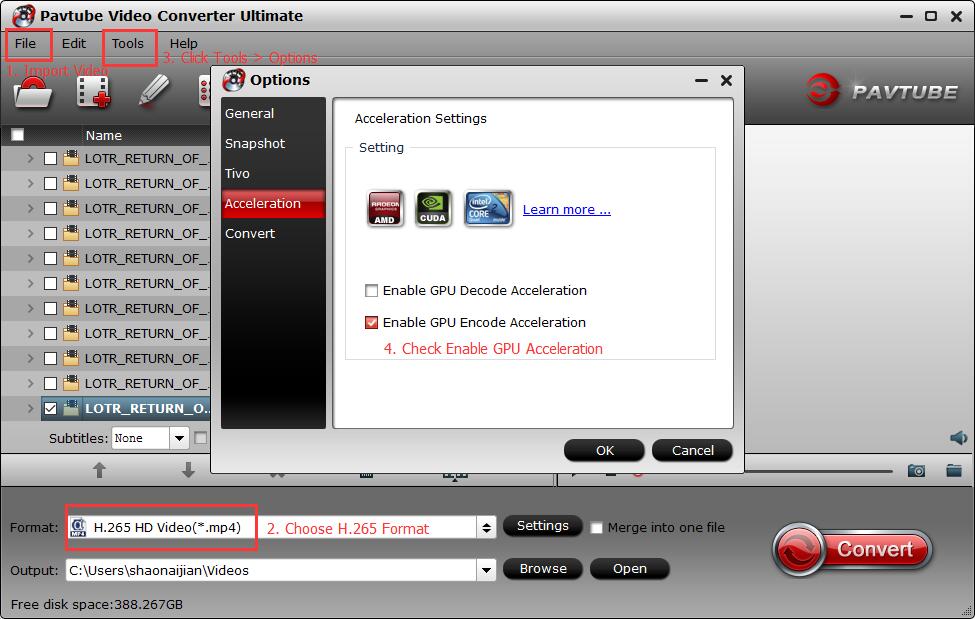
Pavtube Video Converter Ultimate is an all-in-one music to Android Processor. It supports latest Windows version – windows 10 which is supported for MTP on Windows Media Player. You can add the music that cannot be played successfully or smoothly on your Android devices into this processor, then use the mouse to click four or five times, healthy music can be exported for your Android devices. This best processor can convert audio files to AAC (.aac), MP3(.mp3), 3GPP (.3gp), MPEG-4 (.mp4, .m4a), Ogg (.ogg), FLAC (.flac), WAVE (.wav), etc that all supported to Android System. You can use it to convert convert DTS to AC3, MP3, WAV, AAC, FLAC, etc to support Android. And the software is easy-to-use that you can easy to add, choose output audio format and convert music to Android devices with only three steps. Specific steps will be introduced later. In addition to audio files, video files also can be as exporting resources to add into this processor to convert to audio files for Android devices. For example, you can extract and get MP3 audio from 4K Ultra HD video to support Android. Seldom music to the android processor can extract audio files from video files. Pactube Video Converter Ultimate can do it. It deserves to be called the best one.


Note: If you’re a Mac user, please achieve Pavtube iMedia Converter for Mac to convert music on Mac.
How to use the Best Music to Android Processor?
Step 1. Load Android not compatible audio files to the best Music to Android Processor
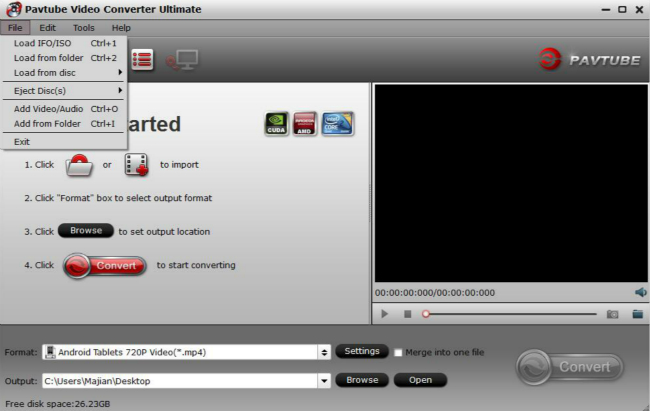
Click “Add Video/Audio” from “File” at the upper left corner of UI to add audio files. You can click “Add from Folder” from “File” to add the whole folder audio files to reduce adding time.
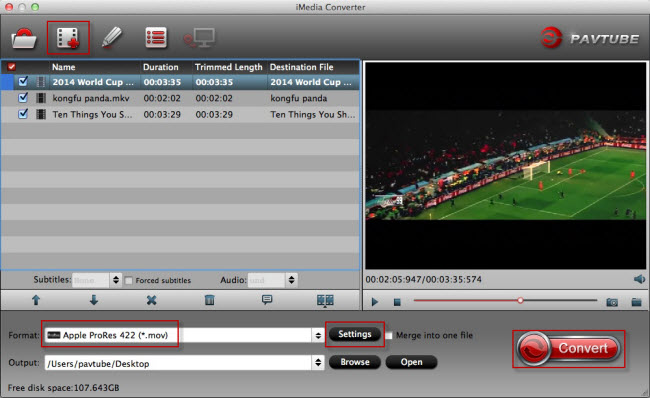
Step 2 Choose one Android devices supported audio format to export
Click “Format” drop-down box, then choose one audio format like “AAC (.aac)” , “MP3(.mp3)”, “3GPP (.3gp)”, “MPEG-4 (.mp4, .m4a)”, “Ogg (.ogg)”, “FLAC (.flac)”, “WAVE (.wav)” etc to export. This Music to Android Processor can export 5.1 channels music. You can click “Settings” after adding files to change the channels from “Audio”.

Step 3. Start processing music to support Android devices
Click “Convert” to start processing audio files to support Android devices. The conversion page will give you “Total progress” information. You can arrange of your time reasonably until the “Total progress” is full. Finish converting, you can find the friendly music by click “Open output folder” quickly. The whole processing is easy-to-do and quick. It will not cost you much time.
Conclusion: Android System is used to many application not only the smart phone and other ways which is mentioned in the above article, but also the robot or intelligent furniture, etc. People can enjoy music on these applications with Android System anytime and anywhere. Just friendly format music and successfully transferring work together with each other can make the experience to be best. Use Pavtube Video Converter Ultimate to make sure the quality of music format, then transfer music to your Android Devices to enjoy music now.
Read More Android Tips:
Play 4K on Android Tablets
Sync Protect iTunes Videos with Android
Compress 1080P MKV to Android Tablets
Watch Blu-rays and DVDs on Android Phones


