It is a pity that years age Apple explicitly remove the DVD drives from the MacBook Air, there has been little from Microsoft indicating that this was going to be likely. Nowadays a lot of laptops are coming without DVD drives, like the super-thin ultrabooks or Apple’s new MacBook Pro and MacBook Air as I said before. The lack of a DVD drive might prevent you from installing your favourite apps or checking archive discs – even ripping your old CDs and DVDs.
Fortunately, where there are questions, there are workarounds. In addition to sharing an optical drive across your home network, you can also simple convert an old removable laptop DVD drive into an external optical drive.
1. Getting Started
What you need are two main components. The one, naturally, is the driv which is the compact “slimline” form factor that has more recently been incorporated into some of the desktop computers that still ship with optical drives. And the other is a external enclosure or housing kit, a relatively cheap device that will house your DVD drive and provide the necessary adaptor and power supply. Now find something suitable on eBay or Amazon (Like this).
Below is for an IDE/PATA optical drive, and will of course be useless for a device with a SATA connector. Make sure it is the correct housing you buy with compatible connectors before you re-purpose your slimline drive in this way!
To make the conversion, you will also need a suitable screwdriver. You can check exactly which size you need when you receive the housing kit.
Note:although this guide is only for removable drives, some fixed DVD drives might also be compatible. Of course you will only know this from stripping down your laptop – something that you shouldn’t do unless your computer has broken beyond repair.
2. Removing the DVD Drive from Your Laptop
Perhaps the easiest step, removal of your DVD drive is usually made possible thanks to a thumb-sized eject lever to the right or left of the DVD tray. Pushing this in enables you to remove the drive (which will be connected to the motherboard on the USB bus, although not with a USB connector) and remove it from the laptop.
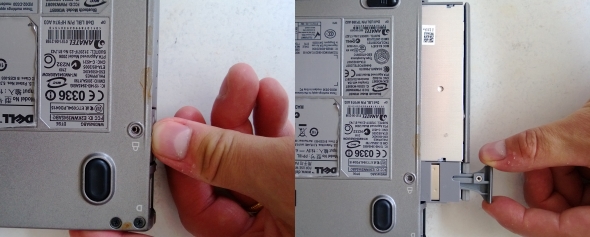
There are other methods of removing your slimline optical drive. For instance, there is often a locking screw that needs to be removed before the drive can be ejected. Other ejection options might involve several locking screws. Removal of such devices might require a pulling or levering the drive out. There might also be a catch, similar to the one often used to remove a laptop battery, that unlocks the optical drive for removal. For the best preparation, find the technical guide for your laptop to confirm the correct procedure.
Why do laptop manufacturers enable the removal of DVD drives? It’s mainly so that you can easily add upgrades; for instance, you might want to add a slimline Blu-ray drive to your laptop, or perhaps use the bay to add a larger hard disk drive.
Again, as mentioned previously, this guide is focused on explicitly removable optical drives – those with a lock and/or catch as described. Removal of a suitable optical device from within a sealed laptop (one with no facility to eject the device) will depend on the computer and the manufacturer’s specification.
3. Preparing the Enclosure
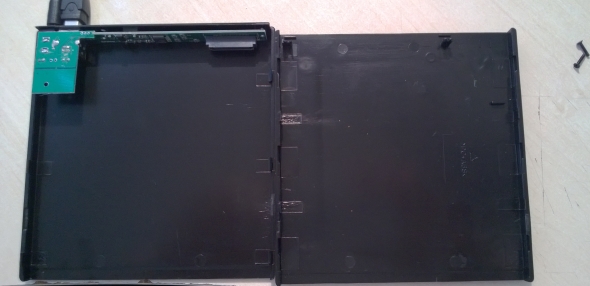
As you unpack the disc drive enclosure, you should notice that it comes in three parts. First is the main housing, into which the optical drive will be slipped. There should also be a new draw cover for your slimline drive, and four small screws.
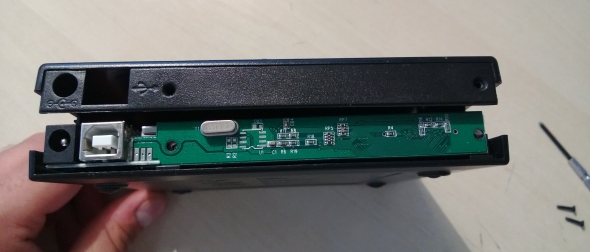
Finally, you should see a long thin piece of circuit board, onto which the connectors will be mounted. One side of this will have a plug suitable for connecting to the slimline drive; flipping it over you will see two USB connectors. The kit should also ship with two USB cables (one data, one power), both of which will be required.
You should start by detaching the draw cover from your optical drive; this can be done by removing the screws found on the underside of the ejected disc drawer. You’ll also need to detach the eject mechanism from the side of the drive. When these have been removed, attach the new drive cover – this will be narrower and designed to work with the housing.
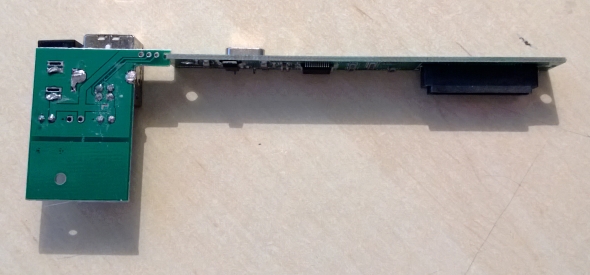
Once this is done, plug the connector strip into the back of your optical drive.
4. Fitting the DVD into the Caddy
That’s the hard part out of the way! All you should need to do now is place the optical drive into the lower half of your caddy/housing, keeping an eye on the support pins, then drop the top half into place, snapping it closed as you go. When this is done, fix it together using the screws provided.
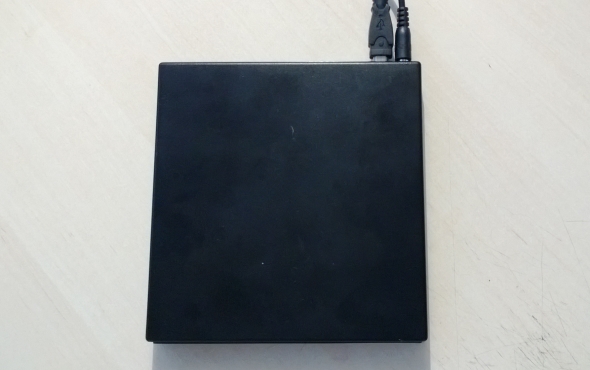
There are a couple of ways in which you might go wrong here. First, you could slip up by over-tightening the screws, as mentioned above. They need to be firmly tightened, but keep an eye on the case for any signs of distortion or crystallisation of the plastic, and slacken the screws if you see this.
You should also repeatedly test the eject button on your optical drive as you adjust the screws, in order to ensure that it doesn’t catch the housing as you insert and remove discs.
If everything is attached and opening and closing smoothly, you can get ready to test your new low-cost external optical drive!
5. Connecting the Drive to Your Computer
Now you’re done fitting the housing together, it’s time to connect your external DVD drive to your computer.
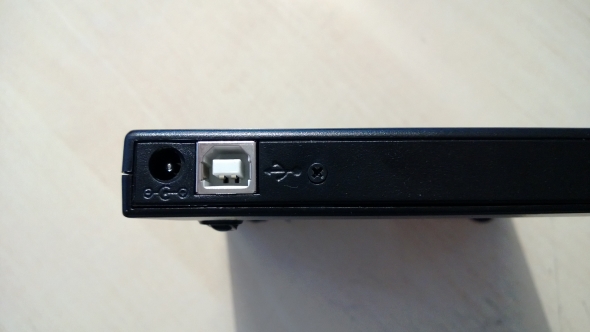
These devices typically ship with two USB cables, although only one is for data; the second is a power lead. If you can find a suitable adaptor that won’t burn your DVD drive out then by all means use this, but the USB power cable is a reasonable alternative. It does mean, of course, that you will need two spare USB ports on your computer or hub.
Once connected, the drive should appear under My Computer, along with all other storage devices. Remember that it is being detected as a USB device, so if it isn’t listed, try restarting your computer.
Conclusion: An External DVD Drive for Pennies!
It’s always good to be able to retrieve something of use from old hardware, whether it be a stick of memory, an old keyboard or even a storage device. While it is easy enough to fix your slimline optical drive into one of these housings, it’s perhaps a shame that they’re not already designed for easy connection to a desktop computer (or even a different laptop) without the plastic case being fitted.
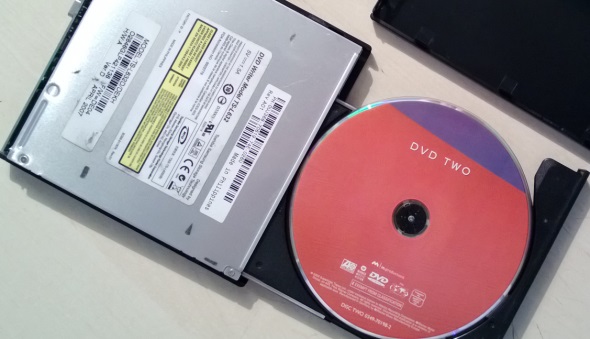
Ultimate, however, this is one of the best cannibalisation projects for owners of old laptops, so when you’re looking online for a new external optical drive, just think about the one sitting in your old notebook, and use it!
Have you already connected your laptop DVD drive to your PC? Perhaps you’ve discarded all of your optical drives and discs already (after all, there are several alternatives and creating ISO files is much easier now)? Let us know in the comments.
More multimedia solutions are here:
- Keyboard Problems with Surface Tablets
- Apple iOS 7.1.1 Update to Fix Bugs Rolled Out by iOS 7.1
- How to set Spotify as the default music player on iPhone
Learn more details in this article.


